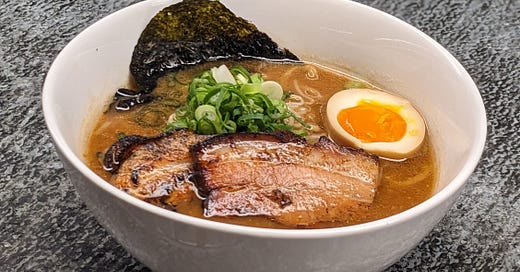
Miso Ramen
I recently went down to Wellington to pick up my noodle machines (well 2 out of 3 of them), the one I wasn’t leaving without was the one that can cut noodles to a 3mm x 3mm thickness, the ideal cut for a Miso Ramen in my opinion, a bit of thickness works great here and the extra chew/crinkles from the temomi process (more on this later) helps withstand the broth and adds some nice texture.
What makes a great miso ramen for me is a flavourful broth that is complex and rich in flavour but feels light to eat. To achieve this I like using a chintan-style soup* instead of a paitan.
*Chintan = light broths.
*Paitan = cloudy/rich broths.
The miso tare should give the broth it's richness and complexity. Miso naturally has tons of umami flavour, in this recipe we use 2 types of misos for depth and balance it with other ingredients like honey, sake, garlic etc.
As for the other toppings, chashu & ajitama are non-negotiable. On the veg-front, I love bean sprouts and corn on a miso ramen, the freshness and crunch contrasts nicely with the punchy broth.
Prelude notes
Recommended prep breakdown
Day -3: Marinade ajitama (45mins)
Day -1: Noodles, chashu, soak dashi ingredients (3 - 4 hours)
Day of serving: Soup, tare & remaining toppings (9 hours total, 3 - 4 hours active time).
The Miso tare stores extremely well in the fridge and can be made before the day of serving.
Ingredient sourcing
Miso Paste
Wait, there’s more than 1 type of miso?
Oh there sure is, it's a big big world of miso out there, red, white, organic, ones with added dashi, you name it.
For this recipe though we’ll be using a blend of 2 types; red & white miso.
White miso typically is fermented for a shorter period of time and has a sweeter taste whereas red miso has a stronger, more fermented punch to it.
White miso is what you’d find more commonly in shops in NZ, red miso is less common but you can find it at asian supermarkets.
One thing I'd try and avoid is miso with added dashi. Because we're using dashi in our double soup already, having dashi in the miso paste can push the fishy-ness over the edge. Check the labels/ingredient list for this, also if the packaging has a fish on it I'd probably avoid it.
Stewing hens
Sometimes called table hens, are old egg-laying hens, they tend to provide more umami flavour to the soup.
You can find stewing hens at a butcher or chinese supermarkets in the freezer section.
I've had the best luck getting these at Yan’s supermarket or oSavmo in Wellington. Much easier to find in Auckland though as most chinese supermarkets stock stewing hens.
Pork Bones
Try to get a good mixture of bones that have fat, meat and joints. No stress if you can’t find the ideal mixture, we’re mainly looking to add some pork flavour to the soup.
Dashi ingredients
Kombu: try look for ‘Ma kombu’ or ‘Rausu kombu’ at Japan Mart, these are both really good varieties of kombu. Cheaper varieties at Japan Mart and some asian supermarkets like Yan’s in Wellington or Tai Ping / H-Mart / Wang Mart in Auckland will also do fine.
I’ve also had good results from NZ-made kombu that you can find at specialty grocers like Moore Wilsons or Farro.Niboshi: I’ve had the best luck finding niboshi at Japan Mart, if you can't find any you can leave this out of your dashi or use korean niboshi that you can easily find in the freezer section at Wellmart / Harae Mai in Wellington or H-Mart / Wang Mart in Auckland.
Katsuobushi: Japan Mart readily stocks nice katsuobushi these days. Some New Worlds have even started to stock decent katsuobushi too.
Equipment
Stockpot
Heavy duty sieve/strainer
Timer
Scale
300ml Ladle
Noodle basket
Pasta machine (if you’re planning to make your own noodles)
Rolling pin (for noodles as well)
Ingredient list
(Makes about 10~ portions)
Miso Tare
(this makes more than 10 portions so you’ll have some extra for next time, how good!)
400g Red miso
400g White miso
50g Garlic (minced)
120g Canola oil plus extra for sautéing
60g Honey
80g Sake
Ajitama
10 Eggs (size 7)
250g Soy sauce*
200g Mirin*
*these will vary, have some extra just in case
Chashu
2kg Pork Belly (boneless)
500g Soy sauce
250g Mirin
125g Sake
100g Brown Sugar
1ltr Water
Sapporo Noodles
1000g Bread/Strong flour
20g Gluten flour
350g Water
50g Egg (about 1 size 7 egg)
10g Salt
4g Kansui
6g Potassium carbonate
0.2g Riboflavin
Chicken & Pork Soup
1.5kg Pork Bones
1.5kg Stewing hens
1 Onion (unpeeled)
1 Garlic bulb (unpeeled)
Dashi
20g Kombu
20g Niboshi
20g Katsuobushi
Toppings
250g Bean sprouts
200g Corn
1 bunch of Spring Onion
4 sheets of Nori
Instructions
Ajitama
1 - Make ajitama recipe (Day 3)
Ajitama (Ramen Egg) recipe
Full credit to ramen_lord for this recipe, this method produces an ajitama that is evenly marinated all the way through and reduces the risk of under or over-marinating the egg. Once I started using this method for pop-ups I’ve never gone back, the consistency and predictability it has is extremely valuable!
Chashu
2 - Make chashu recipe (Day -1)
Chashu Recipe
I often got feedback at our pop-ups on how good our chashu was and customers were often surprised at how simplistic the recipe is. Honestly it just shows how far pork belly goes when seasoned and cooked well.
Sapporo Noodles
(Day -1, ideally earlier in the day to allow for ample rest time)
3 - Combine dough
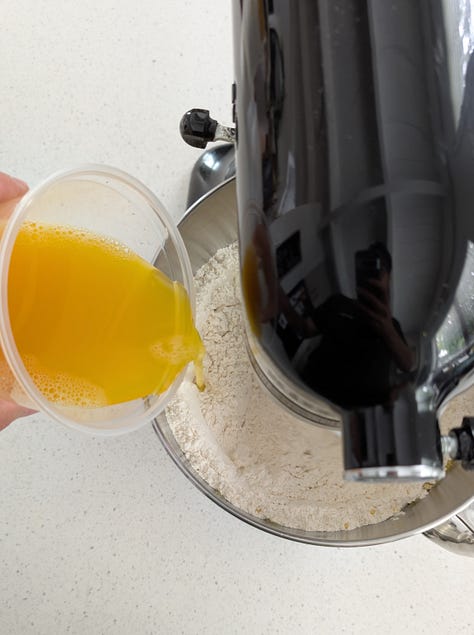
Add salt, sodium carbonate, potassium carbonate & riboflavin to the water.
In a seperate bowl, whisk the egg(s) well until the whites no longer form a string when you lift the mixture up. Then add to your water mixture.
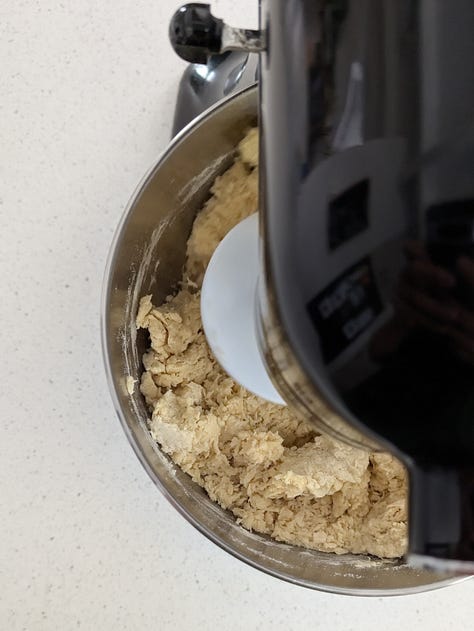
In a stand mixer (or a mixing bowl if you’re doing this by hand), add the flour & gluten flour and slowly add in the liquid as you’re mixing.
The flour tends to clump up if you add the liquid all at once so add it in small increments.
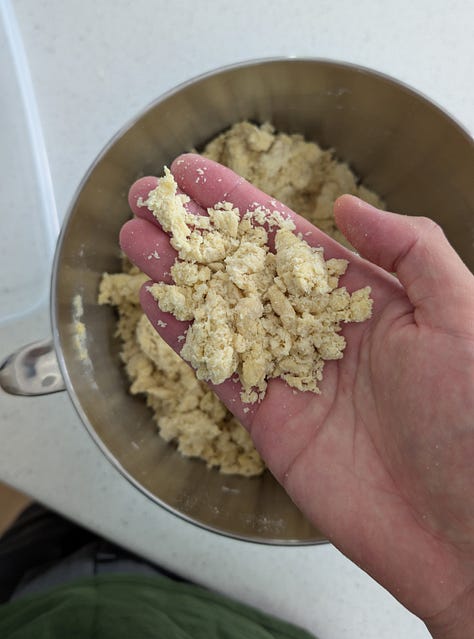
Keep mixing until the dough is evenly hydrated, about 5-7 minutes.
Wrap tightly or press into an airtight container and leave to rest for 3-5 hours.
4 - Sheet dough
Now the dough should feel significantly more hydrated after resting.
Use a rolling pin to press/roll the dough until it’s flat enough to fit into your pasta machine’s thickest setting.
Roll the dough through repeatedly until half its starting thickness.
Reset the pasta machine to the thickest setting, fold the dough sheet on itself lengthways and roll through again, we’ll call this a lamination.
Repeat the lamination process 2-3 times.
5 - Roll to thickness and cut
Roll the noodle sheet to 3mm thickness then cut the noodle sheet into desired length (35cm-40cm is usually what I aim for)
Attach a 3mm cutter to your machine and cut the sheets into noodles.
6 - Portion and temomi
Lightly dust the noodles in cornstarch and portion into 150g bundles.
Before storing, gently “massage” the noodles by kneading it on a kitchen bench.
This process is called ‘temomi’, what it does is introduces some irregularities to the noodles that help soup cling onto.
Store in an airtight container in the fridge.
Chicken & Pork soup
(Day of serving)
One of my simpler soup recipes that is vey forgiving, making this a great beginner ramen recipe.
8 - Prepare stewing hens & pork bones
Break down into pieces (2 thighs, 2 wings, carcass with breasts attached).
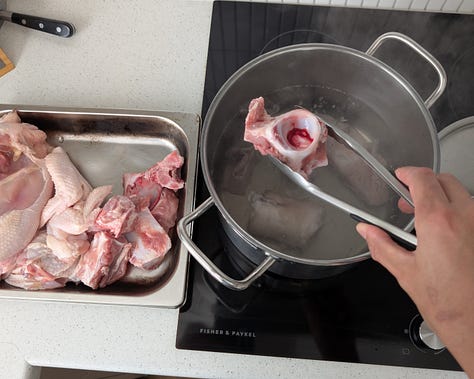
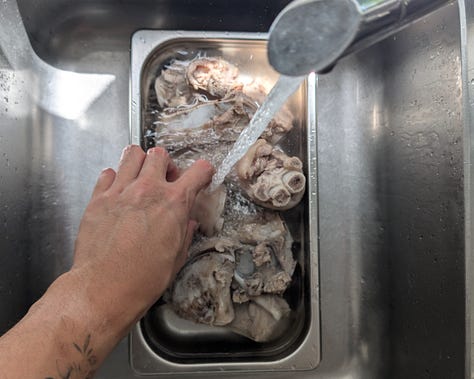
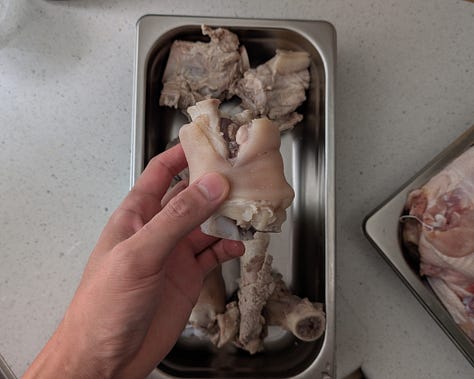
To prepare the pork bones, we’re going to blanch them to remove excess scum & impurities in the exact same way that we do for the Tonkotsu.
Bring a pot of water to the boil, place your pork bones in and simmer for 10 minutes.
Afterwards rinse the pork bones in cold water and remove any scum (the dark stuff).
9 - Simmer soup
Weigh your stewing hen(s) & pork bones, this recipe uses 3kg of bones and 3.5kg of water but birds/bones will vary in weight so adjust the amount of water accordingly (we’re after a ratio of 1.2 : 1, water to bones).
Layer the pork bones on the bottom of the stockpot, and then the stewing hens on top.
Add 3.5 ltr of water to the stockpot and heat over medium high heat.
Heat until the soup reaches 90 degrees then turn down the stove to a heat that maintains 90 degrees.
Check often initially until the temperature is stable. Try and avoid agitating the soup too much as this will cause the soup to become cloudy.
Cook for 6 hours
(This is a great time to make the remaining elements, skip to step 12 if you are)
10 - Add vegetables
Cut the onion and garlic in half lengthways and add to the soup.
Cook a further 2 hours at the same temperature (90 degrees)
11 - Strain soup
Carefully strain the soup into another pot or container, set aside until ready to serve or let cool to room temperature before storing in the fridge.
Dashi
12 - Soak Kombu & Niboshi
In a container or large enough pot, soak the 20g of kombu and 20g of niboshi in 1.2ltr of water.
Set aside for at least 4 hours or overnight.
13 - Heat dashi
Heat kombu, niboshi and the water it was soaking in until 80 degrees. Hold at 80 degrees for 10 minutes.
Afterwards take off the heat and take out the kombu and niboshi (these can be discarded).
14 - Add katsuobushi
Add katsuobushi (off the heat) and let sit for 10 minutes.
Strain out katsuobushi and set aside until ready to serve.
Miso Tare
This can be made well in advance, this tare keeps well in the fridge for months.
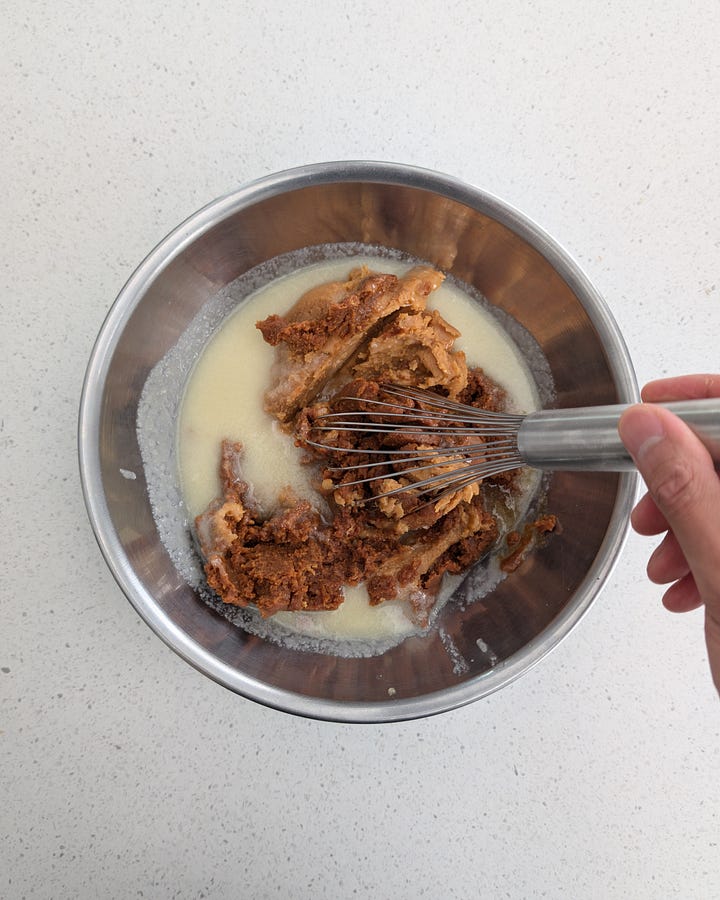
15 - Incorporate ingredients
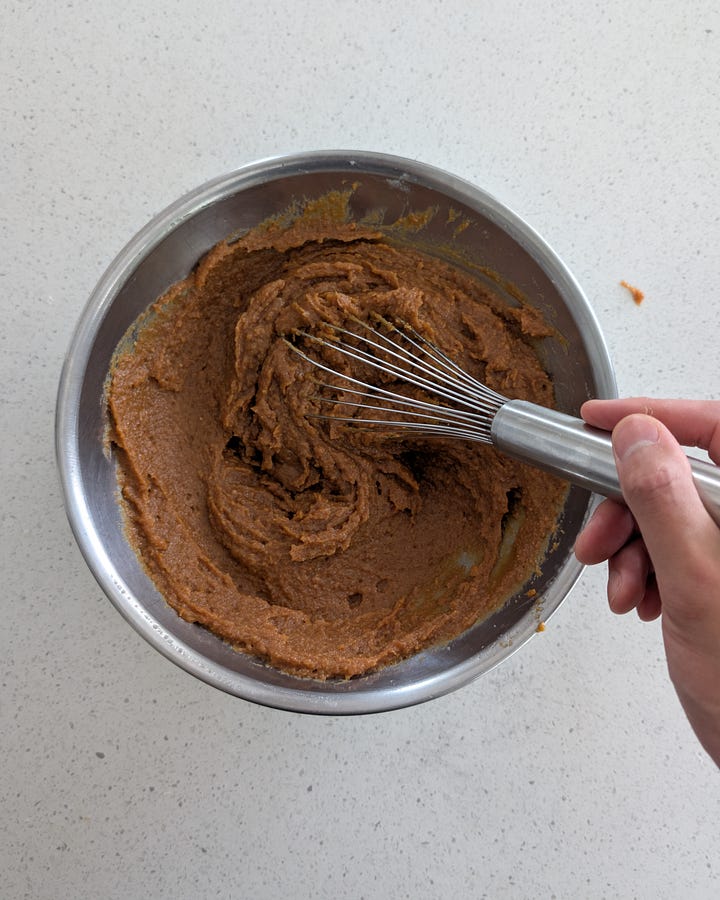
Mix together all the ingredients in a large mixing bowl until completely combined.
Heating up the honey will help it mix easier.
16 - Saute
In a heavy pan on medium-high heat, add a generous amount of oil (about 2 tablespoons). Once the oil has heated up, add in the miso tare and sauté until caramelised.
You'll want to stir this as it cooks so it doesn't stick to your pan.
Keep going until the tare becomes a shade darker, about 4-5 minutes. This step is really important as it cooks out the garlic and sake, you can’t really overcooked this so go a bit longer if you’re unsure (some charred bits is great here).
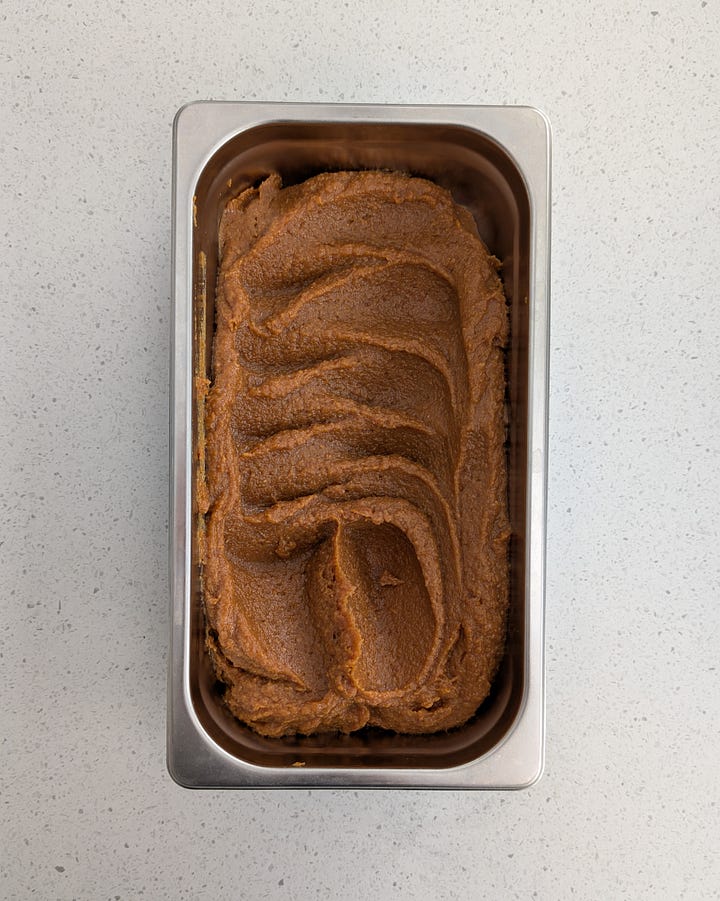
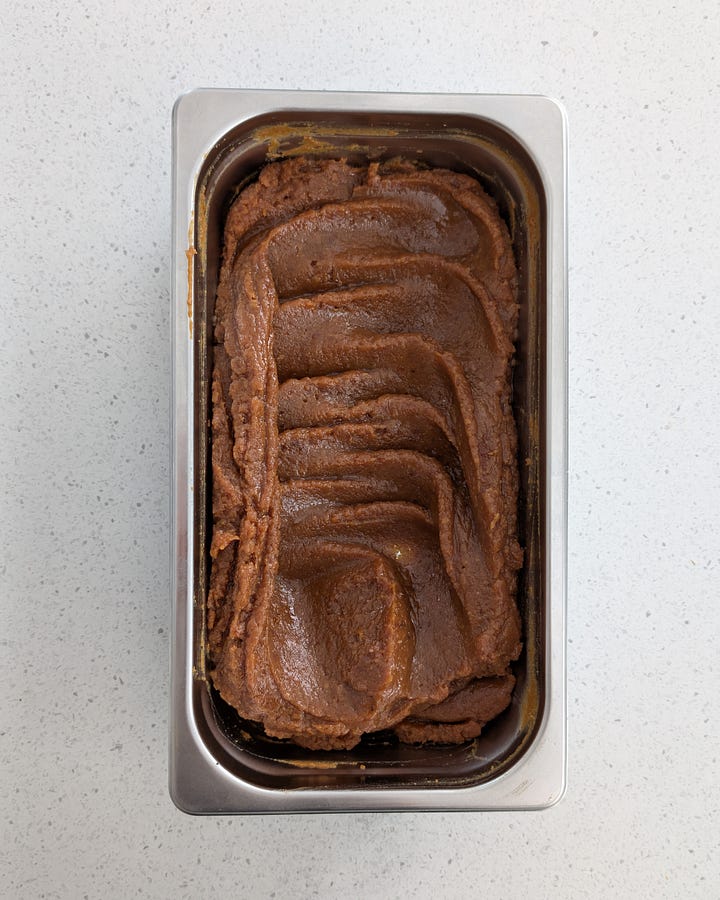
Set aside to cool before storing.
Remaining toppings
17 - Slice spring onion
Thinly slice spring onions and store in a container until you're ready to serve.
18 - Cut nori
Cut nori sheets into 4 even squares.
Serving the ramen
You should have:
Chicken & pork soup
Dashi
Sapporo Noodles
Miso Tare
Chashu
Ajitama
Bean sprouts
Corn
Spring onion
Nori
Once the ramen’s served you want to eat it as soon as possible so now’s your chance to set the table, get drinks ready and rally up your pals!
1 - Get the pots on!
Heat up a big pot of water to boiling point (for cooking the noodles) and another smaller pot for the soup.
For the soup, heat up 200ml of chicken & pork soup and 100ml of dashi per portion (totalling 300ml of total soup per portion)
Heat over medium heat until the soup’s simmering.
2 - Blow torch chashu
Place chashu on an oven tray or frying pan.
Brush the braising liquid over the chashu (microwave this so it turns back into a liquid).
Blow torch the chashu until nicely seared to your liking.
Set aside.
3 - Blanch Bean sprouts & Corn
Using the pot of water that the noodles will cook in, dip your bean sprouts then quickly fish them out.
A quick in & out is all you need as they'll continue to cook in the soup later.
Same goes for the corn.
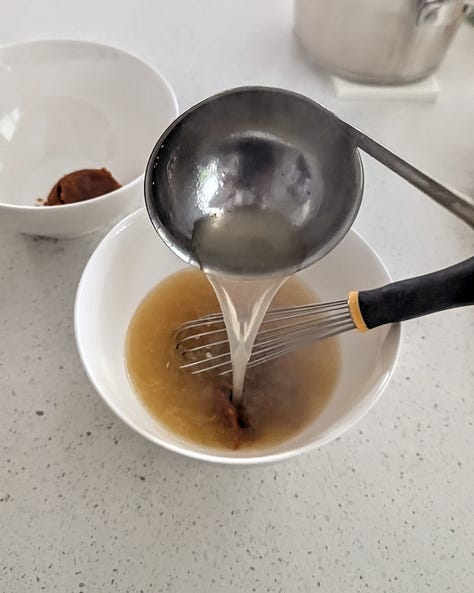
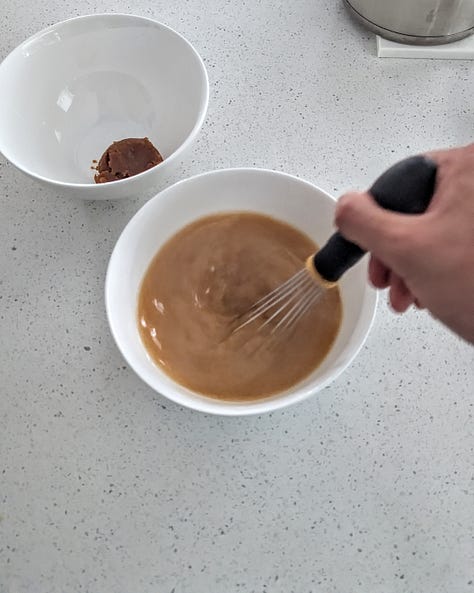
4 - Mix tare into soup
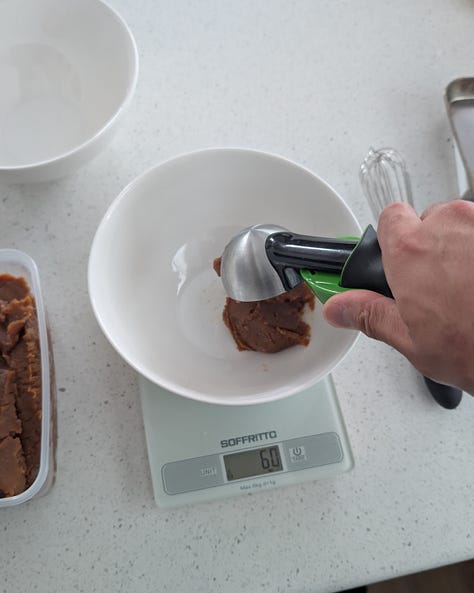
Add 60g of miso tare into each bowl. Add in 300ml of soup into each bowl and whisk to incorporate the tare and soup.
Optional: heat the bowls up beforehand by pouring hot water into them and then pouring out the water once the bowls are hot enough.
5 - Cook noodles
Once the water is at a rolling boil, drop the noodles (may need to do batches if cooking a lot of portions) and put a timer on for 4 minutes
After the timer has gone off, strain the noodles well and add a portion to each bowl.
You want to time the noodles and soup to be ready as close to each other as possible so steps 4 & 5 should happen simultaneously.
6 - Add toppings and serve
Place the chashu, ajitama, bean sprout, spring onion, corn and nori on top and serve immediately.
Pro-tip: folding the noodles to form a platform helps the toppings stay in place.
Slurp and enjoy!

